A few years ago Simon chose The Great Smoky Mountains for his geography fair project. For part of the project, he wanted to highlight some of the salamanders who make their home in the Smokies.
We looked through some geography fair ideas, and he decided he would try a triarama. He didn’t want the triarama be like a pyramid, though. He wanted each one to stand on its own. So that’s what he did. It was a quick and easy geography fair project.
You only need a few simple supplies to make this easy geography fair project!
Triarama Supplies
- card stock
- glue stick
- scissors
How to Make a Triarama
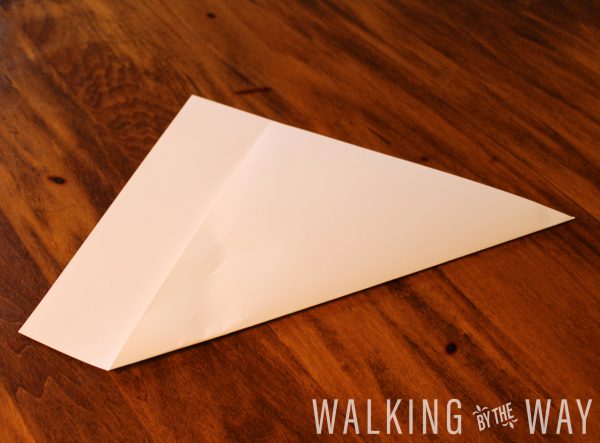
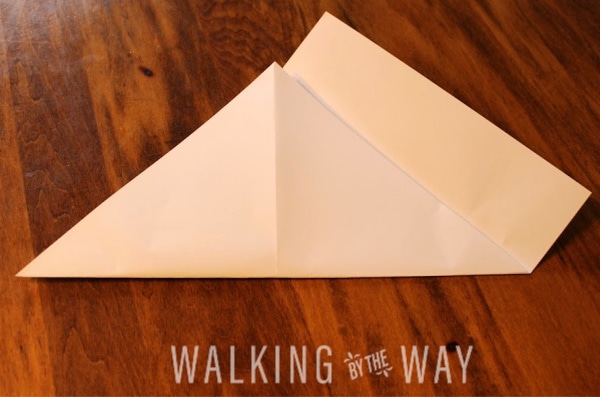
First, make a diagonal fold with your card stock.
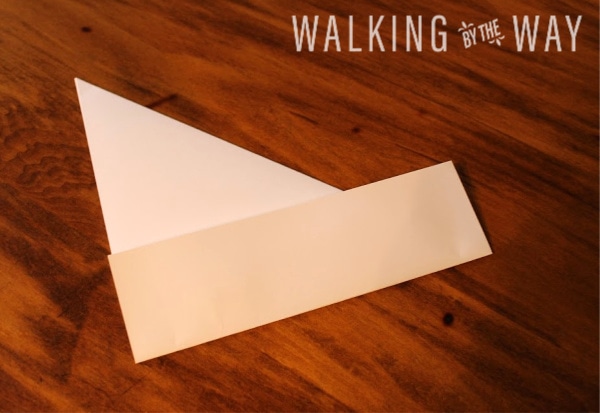
Next, fold up the leftover rectangle.
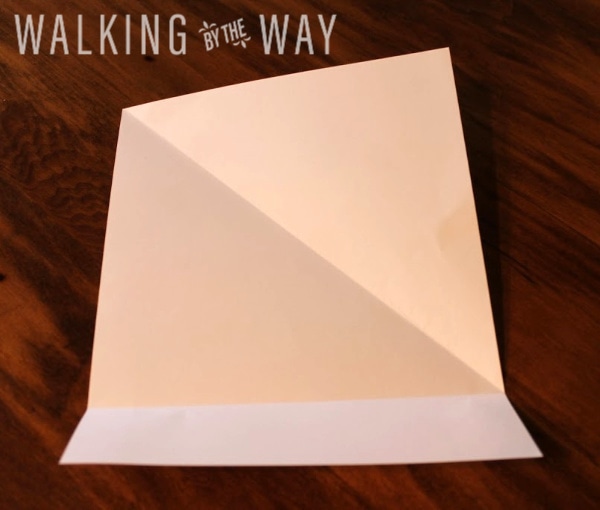
After this, you are going to unfold the paper.
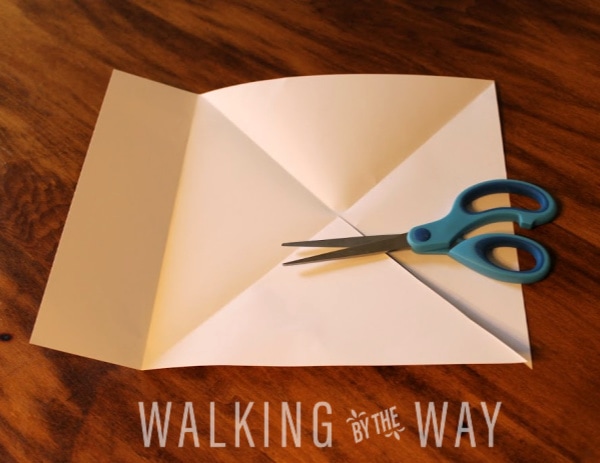
Make another diagonal fold–opposite of the very first fold.
You are done folding! Now it’s time to cut along one of the diagonal folds.
Next, you are going to add glue to one of the triangle areas.
Note: If your student wants to create a background on the triarama, NOW is the time to do this BEFORE you glue it together. Make a small X on the area that will be glued (so your student knows where not to draw). It is much easier to color and draw on the paper before it is glued together.
Tuck the glued triangle under the back of the adjacent triangle. Voila! Your triarama is finished.
Sample Salamander Triaramas
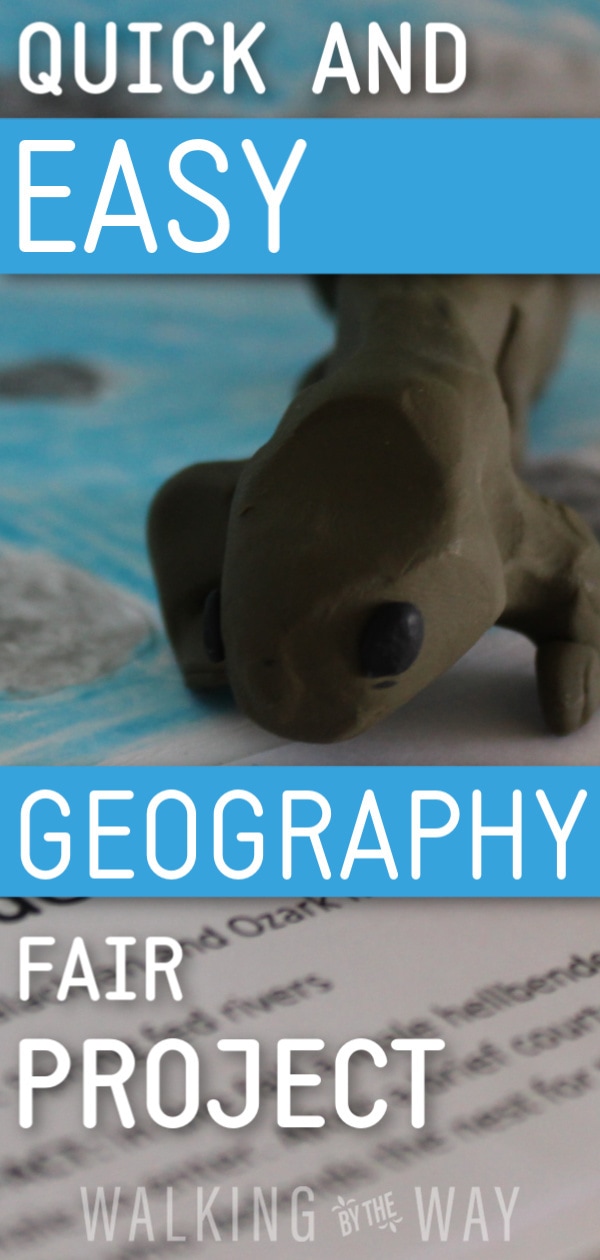
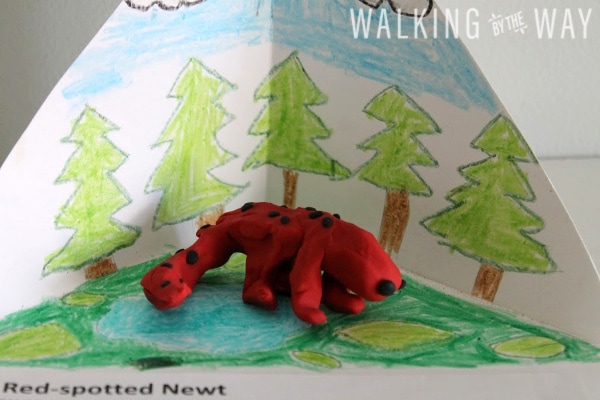
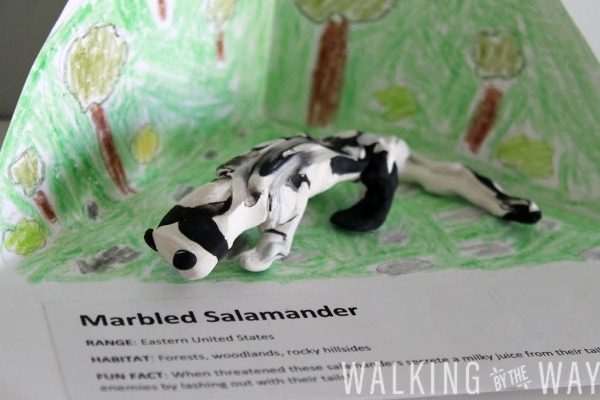
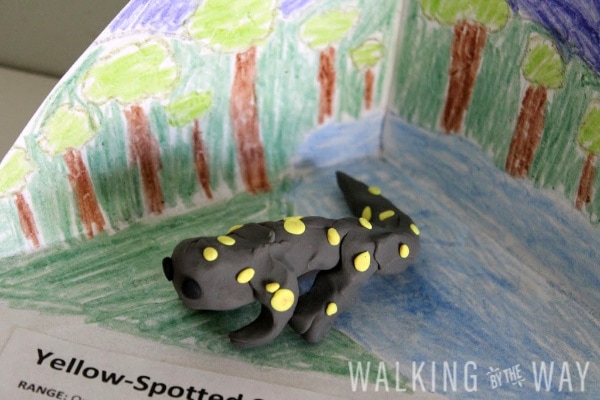
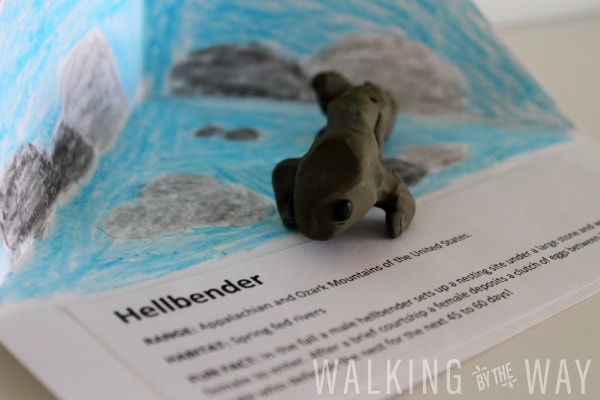
Here are some photos of Simon’s finished triaramas.
Simon researched each salamander to determine how to draw the habitats.
He typed up the range, habitat, and a fun fact for each species.
He created the salamanders (and one newt) out of Sculpey Clay.
This turned out to be a super simple yet eye-catching way to display the information about the salamanders.
You could use triaramas to present various information for your geography display. It could be used to highlight an animal, a habitat, a famous person, a holiday, a sport–the possibilities are endless!



[…] 39. Make a Triarama […]